Introduction
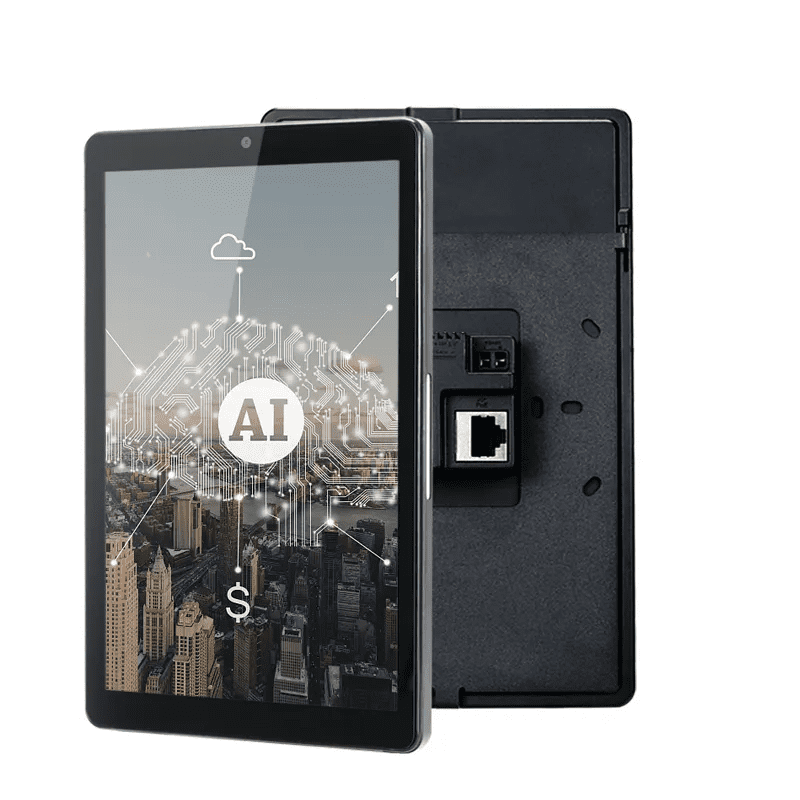
This document tells you How To Configure Kiosk on Select Geekland Android Tablets, such as the GKYCSMXX line of Geekland tablets without the need for an MDM or third party kiosking application.
Assumptions
-
-
-
- The tablet is being installed and programmed on the site network
- The tech can access the tablet using the ADB Connect command on the site network
- That the tablet is deriving its power and data over the RJ-45 connector, unless otherwise provisioned
-
-
Theory of operation
When setup and configured correctly, on power up, this device with perform as follows:
-
- The tablet will display the splash and startup screens for approx 20 seconds
- The Home Screen will display for approx 6 seconds
- The tablet will automatically start a previously installed and configured APK
- This tablet will operate in a “kiosk” mode of operation by restricting users access to any other parts of the tablet except the client provided application.
- Once configured in this manner, the tablet can only be managed via an ADB connection
Setup Steps
-
- Power Up – connect the tablet to a power source
- Factory Reset – Settings > System > Advanced > Reset Options > Erase all data (factory reset)
- Enable Wifi (if not using POE) – Settings > Network & Internet > Enable Wifi and enter credentials
- Record IP Address – Settings > About > Record the IP address listed
Configuration Steps
-
- Install Client APK – Swipe Up > Open PlayStore > Login > Download & Install APK
- Set Boot App – Settings > Accessibility > Boot App > Select Startup Application > Click on target APK > Click Back
- Hide the Statusbar – (warning!! don’t configure this feature until you know you can connect to the tablet’s IP address using ADB.))
Notes on “Hiding the Statusbar”
-
- As soon as you enable this option you will lose access to the navigation buttons on the screen. This means you can’t even exit the menu. At this point all you can do is re-enable the Statusbar OR power cycle the device. After the power cycle, the tablet will operate in kiosk mode.
- It is suggested that all items be removed from the Home Screen so that someone doesn’t attempt to interrupt the autoboot feature.
Managing the Device (taking the unit out of kiosk mode or making the tablet accessible again)
-
- At this point, the assumption is the tablet is running, the client APK is active and the device and computer are on the same network.
- Open Powershell or similar program on your computer
- At the command prompt enter the following ADB command $adb connect <IP address> <enter> for example: $adb connect 192.168.1.53
- The server will start and connect immediately to the tablet if everything is set up correctly
- Once connected, Issue the following command from the command prompt at which point you can re-enable the status bar.
$adb shell am start -a android.settings.ACCESSIBILITY_SETTINGS
Note: The location of Hide Navigation Bar feature can vary from model to model. For example, in some models, it is found in the DISPLAY section. To bring that page into focus we would change the command as follows:
$adb shell am start -a android.settings.DISPLAY_SETTINGS
We hope this guide on “How To Configure Kiosk on Select Geekland Android Tablets” is of benefit to you. Let us know how your experience goes!! We are happy to help!!

